Vicidial install on Ubuntu 18.04

Updated: Oct-18-2021

Note: Below steps only cover standalone server installation on Ubuntu 18.04.

I am using Digitalocean VPC. Installation and it should be similar in AWS EC2 instances.

Make sure to open 8088,8089,80,443 TCP and 10000 -20000 UDP ports Open in your firewall..

git clone https://github.com/jaganthoutam/vicidial-install-centos7.git
cd vicidial-install-scripts
chmod +x vicidial-install-ubuntu18.sh
./vicidial-install-ubuntu18.sh

While installing Please enter below details:

#Do back to root Directory of vicidial 
cd .. 
perl install.pl

#Fallow the setup with appropriate

#Configiguration example


#Populate ISO country codes 

cd /usr/src/astguiclient/trunk/bin perl ADMIN_area_code_populate.pl 

#update the Server IP with latest IP address.(VICIDIAL DEFAULT IP IS 10.10.10.15) 

perl /usr/src/astguiclient/trunk/bin/ADMIN_update_server_ip.pl --old-server_ip=10.10.10.15 #Say 'Yes' to all
VICIDIAL processes run on screen. There should be 9 Processes running on the screen.
root@vici01:~# screen -ls

There are screens on:

 2240.ASTVDremote (03/21/2019 02:16:03 AM) (Detached)

 2237.ASTVDauto (03/21/2019 02:16:03 AM) (Detached)

 2234.ASTlisten (03/21/2019 02:16:02 AM) (Detached)

 2231.ASTsend (03/21/2019 02:16:02 AM) (Detached)

 2228.ASTupdate (03/21/2019 02:16:02 AM) (Detached)

 2025.ASTconf3way (03/21/2019 02:15:02 AM) (Detached)

 2019.ASTVDadapt (03/21/2019 02:15:02 AM) (Detached)

 1826.asterisk (03/21/2019 02:14:51 AM) (Detached)

 1819.astshell20190321021448 (03/21/2019 02:14:49 AM) (Detached)

9 Sockets in /var/run/screen/S-root.
All Set now. Now, You can configure web interface and logins.
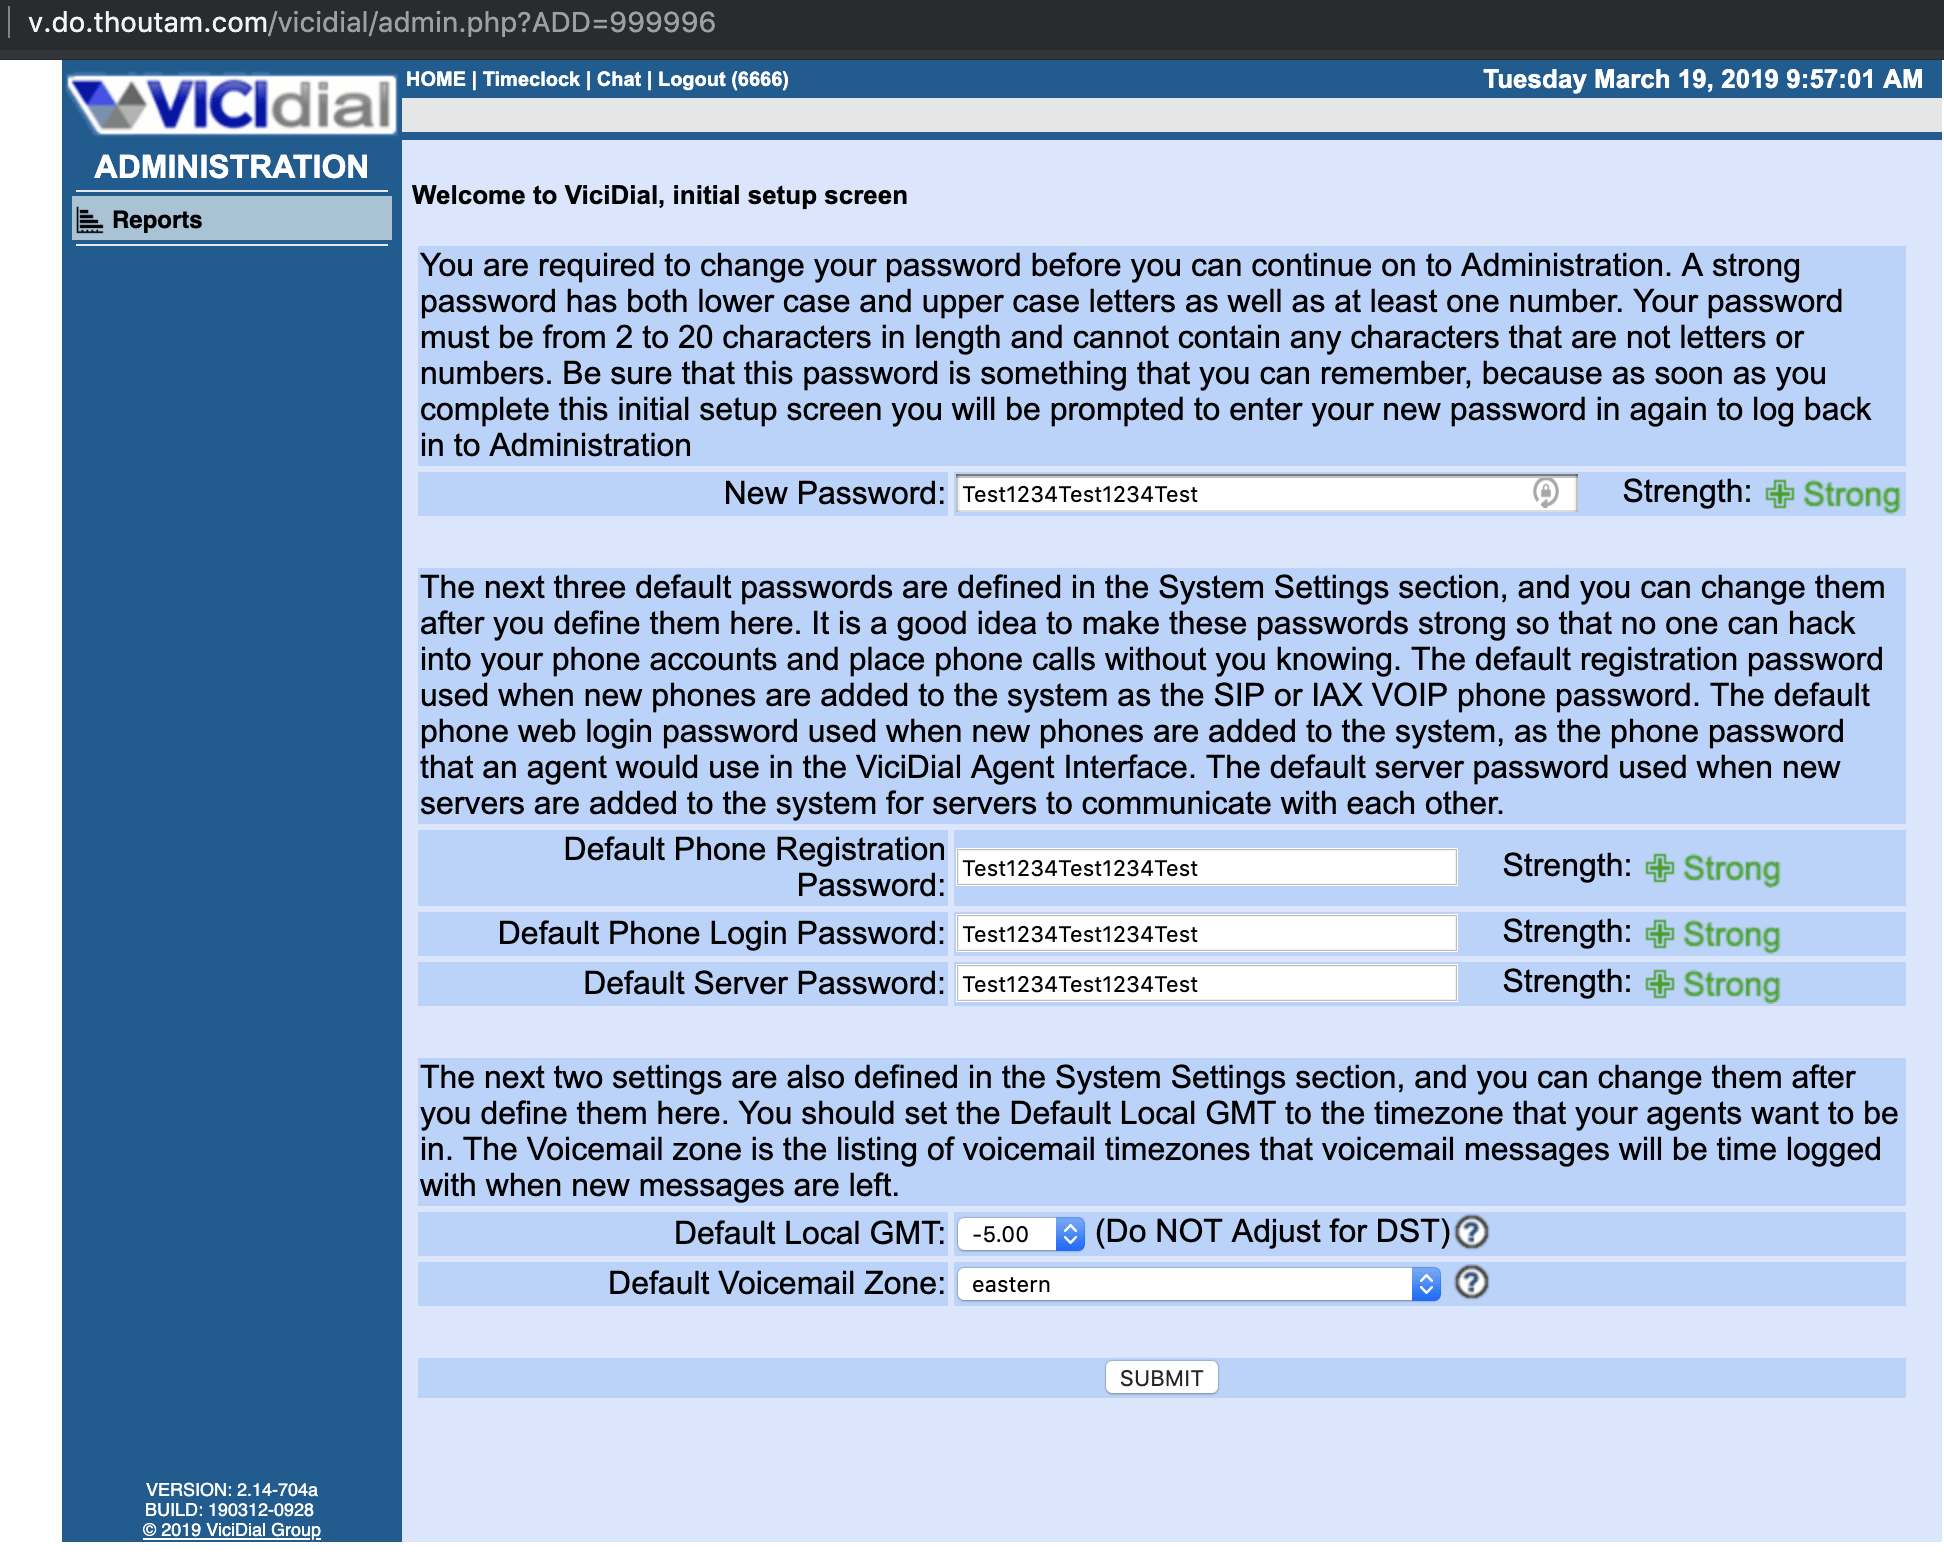
Vicidial Admin login :
http://VICIDIAL_SERVER_IP/vicidial/admin.php
user: 6666
Pass: 1234
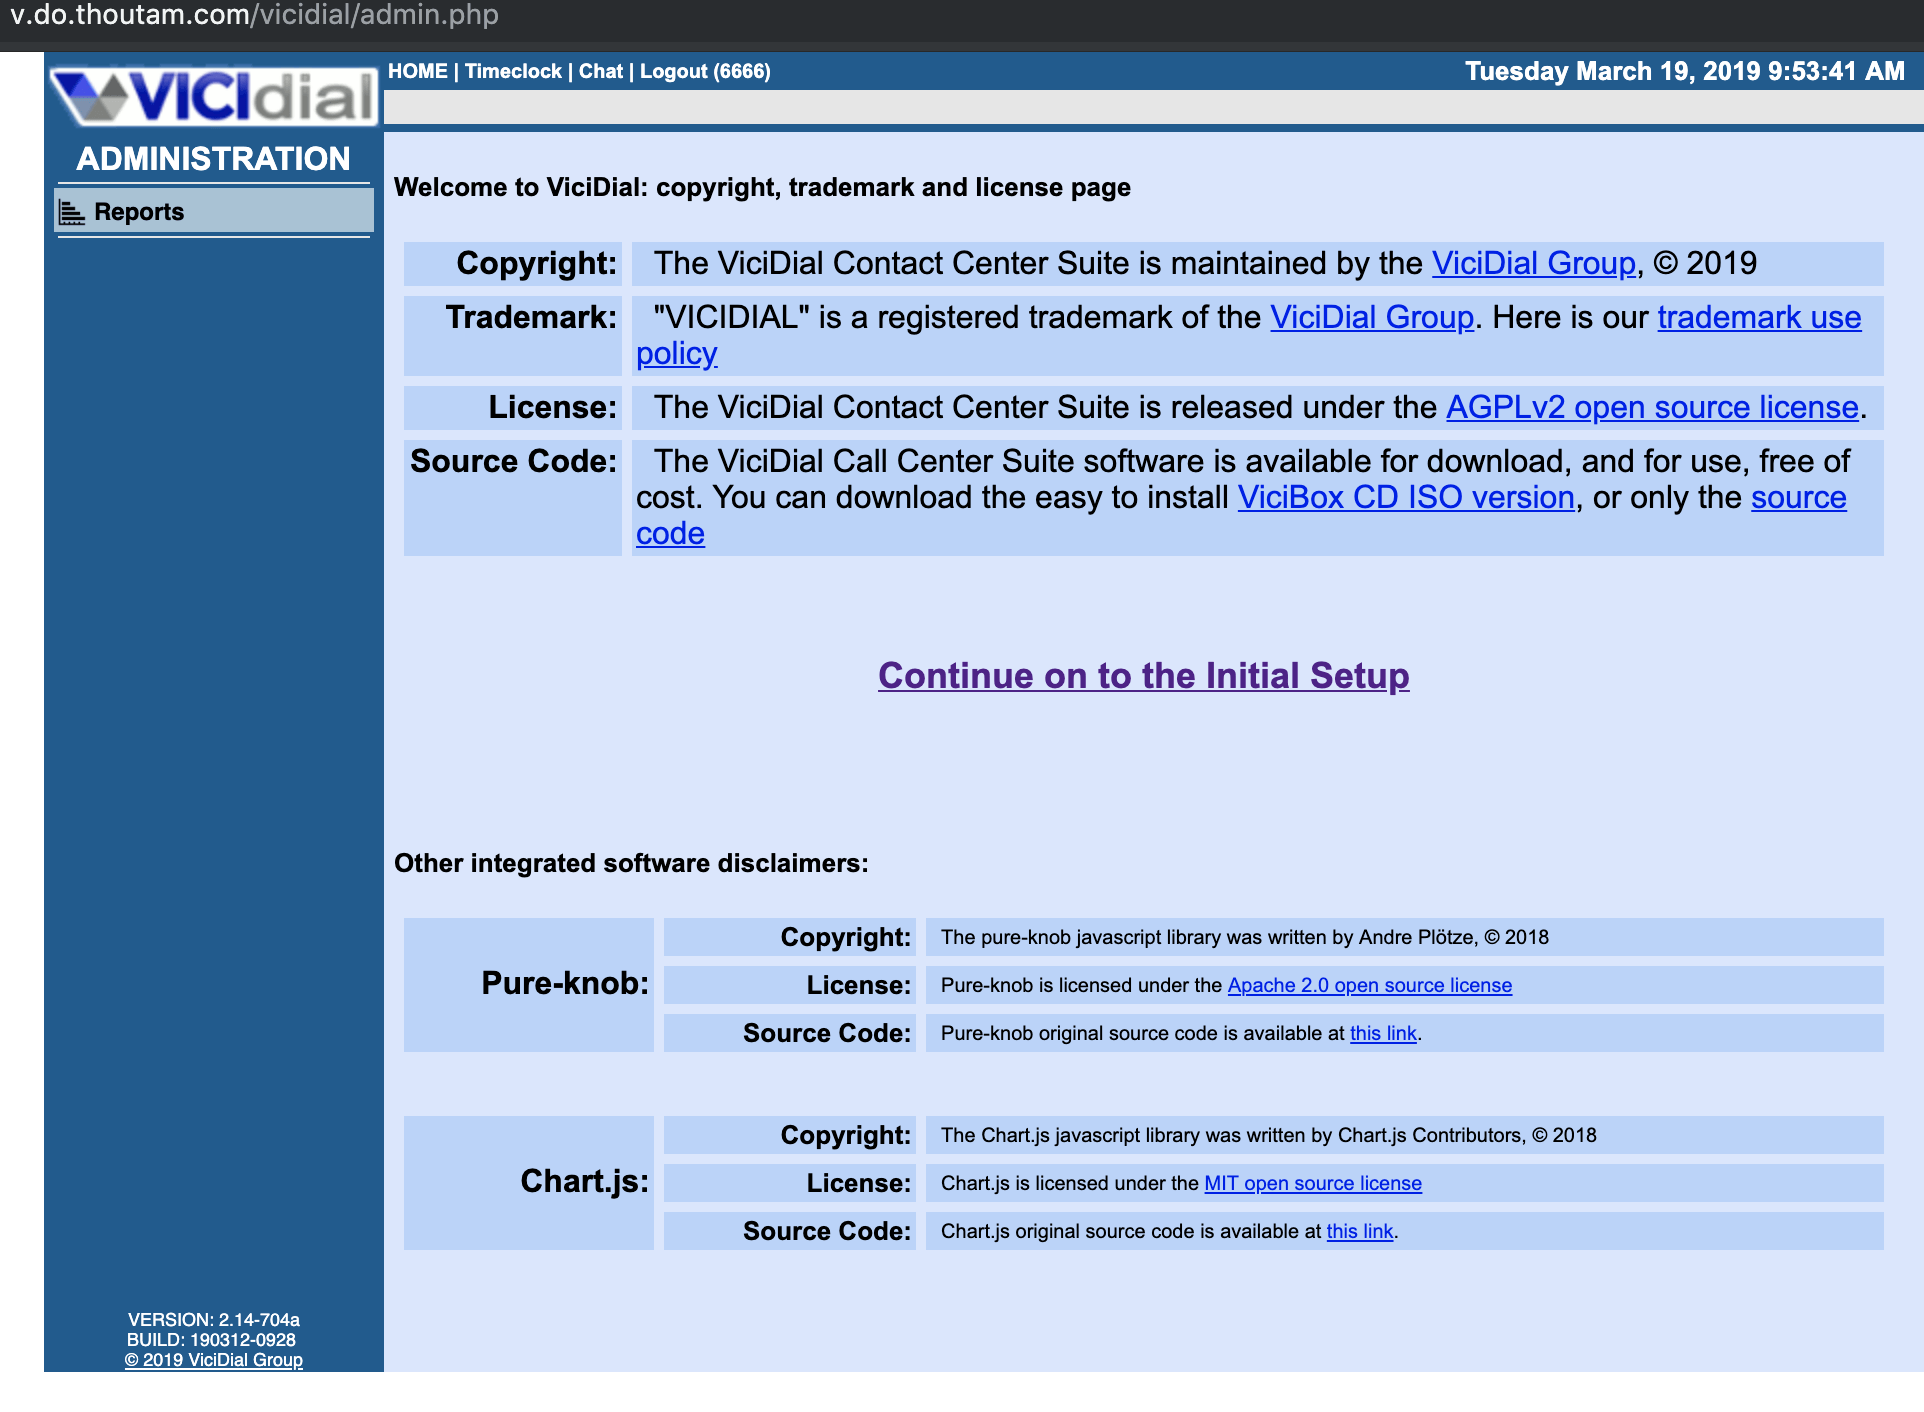
Continue On to the Initial Setup
#Add Secure Password for admin and SIP
#Give Super admin access to 6666 user
users —> 6666 –> Change all 0 to 1 in Interface Options.
For WebRTC we need to Run the below Script
chmod +x vicidial-enable-webrtc.sh
./vicidial-enable-webrtc.sh

#Next steps
1. Create Campaign
2. Create SIP Trunk
3. Create Dialplan
4. Upload Leads
5. Register Users to SopftPhone
6. Create Agents/users
Note: If WebRTC enable you don’t need softphone anymore.
………
And Enjoy…
Note: if you building the server for more than 30+ agents, I recommend to use bare metal servers than VPC. 
Please let me know if you have any issues.

Media parameter in SIP

m=audio 12548 RTP/AVP 0 8 101

It’s a field from SDP protocol, describing parameters of media (“m” is for “media”). Next, the type of media is “audio”, not video, for example. (m=audio). 12548 is a port address for streaming media. “RTP/AVP” means “RTP Audio/Video
Profile” and representing one of RTP profiles, which are coded by 0, 8 and 101. 0 is PCMU 8000 Hz, 8 is PCMA 8000 Hz, and 101 is payload type for DTMF digits sending.

Install OpenSIPs

Install OpenSIPs

OpenSIPS is a multi-functional, multi-purpose signaling SIP server used by carriers, telecoms or ITSPs for solutions like Class4/5 Residential Platforms, Trunking / Wholesale, Enterprise / Virtual PBX Solutions, Session Border Controllers, Application Servers, Front-End Load Balancers, IMS Platforms, Call Centers, and many others…

Platfrom : Ubuntu 14.04 +

Let’s Begin…

apt-get install build-essential openssl bison flex
apt-get install perl libdbi-perl libdbd-mysql-perl libdbd-pg-perl libfrontier-rpc-perl libterm-readline-gnu-perl libberkeleydb-perl ncurses-dev
apt-get install mysql-server libmysqlclient-dev
wget http://opensips.org/pub/opensips/latest/opensips-2.3.0.tar.gz
tar -xvf opensips-2.3.0.tar.gz
cd opensips-2.3.0/
make all
make install 
mkdir /var/run/opensips
cd packaging/debian/
cp opensips.default /etc/default/opensips
cp opensips.init /etc/init.d/opensips
chmod +x /etc/init.d/opensips
useradd opensips
update-rc.d opensips defaults 99
vim /etc/default/opensips
Here you need to replace the 'RUN_OpenSIPS' to 'Yes'. You can also change the user and group and name that you wish to use for the Opensips services and also change the shared memory to minimum 128 which is recommended for the OpenSIPS server.


we also need to update the daemon on OpenSIP and change it location in its startup script and update its state from ‘off’ to ‘on’ and then close the file after making changes.